How to Clean an NES
Have you ever tried to play a game for the Nintendo Entertainment System, only to be met with a glitchy screen? Sometimes, your game might not work at all. You might turn your game on and find a blank, gray screen of death. If you own an original NES console, you may encounter these problems frequently. Fortunately, there’s a solution to the problem. One of the most common causes of glitchy NES games would be a dirty 72-pin connector, which is something that can be easily cleaned. In this guide, I’ll show you how to fix your NES quickly and safely.
Please note that I'm no expert when it comes to console maintanence or repair, so this may not work for everyone. This was just a method I tried that happened to work. If you're still experiencing issues, consider taking your NES to be professionally repaired or try consulting another guide.
DISCLAIMER: If you want to try this at home, please proceed with caution. I am not responsible for any damage that might come to your console. Follow these steps at your own risk.
Materials
- Philips head screwdriver
- Q-tips
- Cleaning solution
- Rubber Air / Dust Pump (Optional)
- WD-40
- Sand & Rubber Eraser
Have you tried...
Before you take your console apart, try cleaning some of your game cartridges first. Sometimes, the game glitches occur from having too much dust around the pins. Many people are familiar with the idea of blowing on a cartridge to get rid of the dust, but it’s recommended that you use q-tips and cleaning solution instead. Soak one end of the q-tip in cleaning solution while leaving the other end dry. Swab the cartridge pins with the damp end, then wipe them down again with the dry end. Always make sure the cartridge isn’t wet before using it with the console. If you still experience issues with your games, try the instructional set below.

Step 1
To begin, flip your NES over so that the bottom half faces up. Unscrew the 6 screws at the bottom of the console with a Phillips head screwdriver. Try to keep your screws together so you don’t lose them.
Note: Most of the screws within the console are the same, and thus interchangeable.
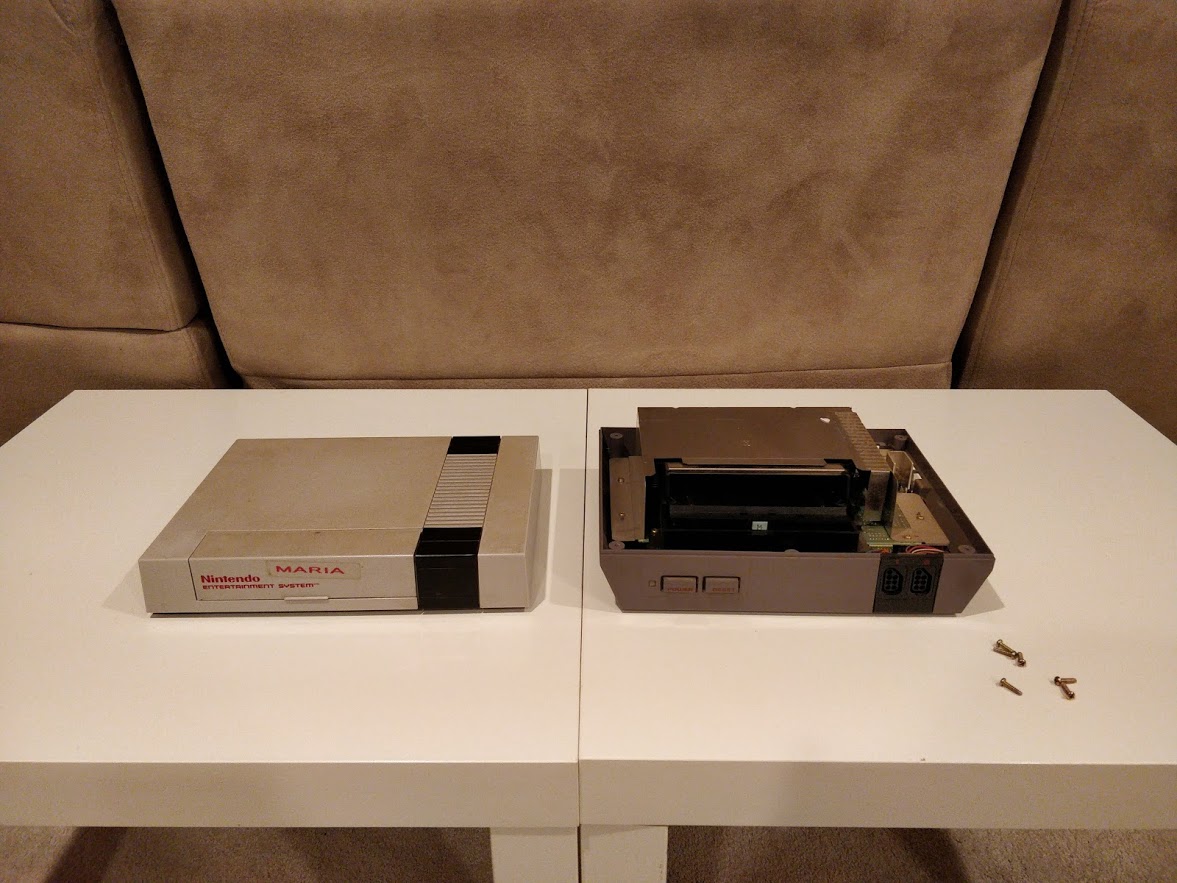
Step 2
Carefully flip the NES back over. Remove the top half of the case and set it aside.
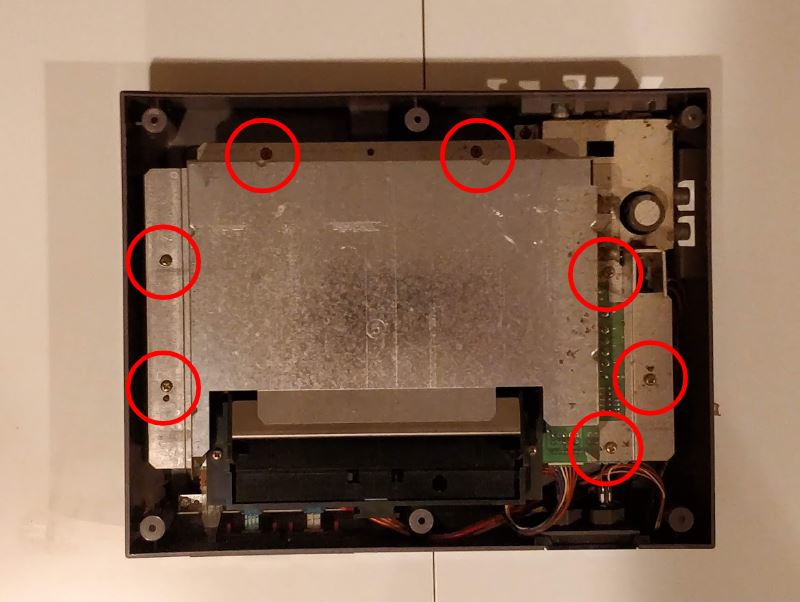
Step 3
Unscrew the 7 screws around cartridge holder / RF shield. Once they are all undone, lift up the RF shield and set it aside.
Step 4
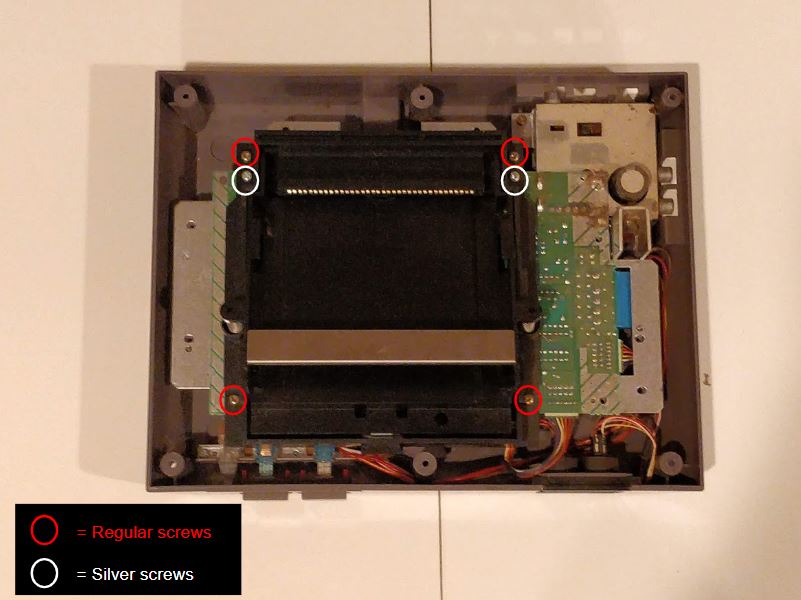
Unscrew the 6 screws surrounding the cartridge slot and 72-pin connector. Please note that there are 2 silver screws that are slightly longer than the other ones. These are the only screws that need to go back in their proper place, so don’t mix them up with the other screws.
Step 5
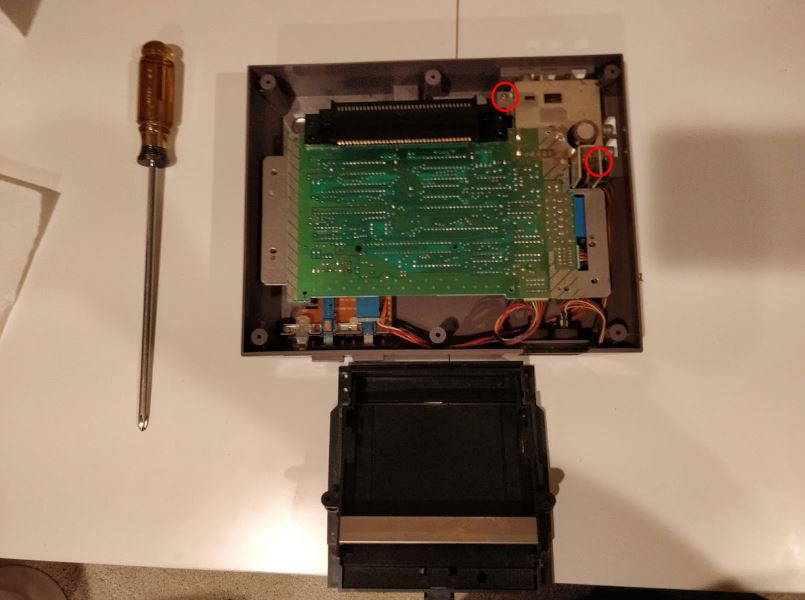
Carefully remove the cartridge holder from its place. Use cleaning solution to clean any dust around the plastic of the cartridge holder. Try not to get any of the pins wet while doing this. After that, unscrew the 2 additional screws surrounding the composite video ports.
Step 6
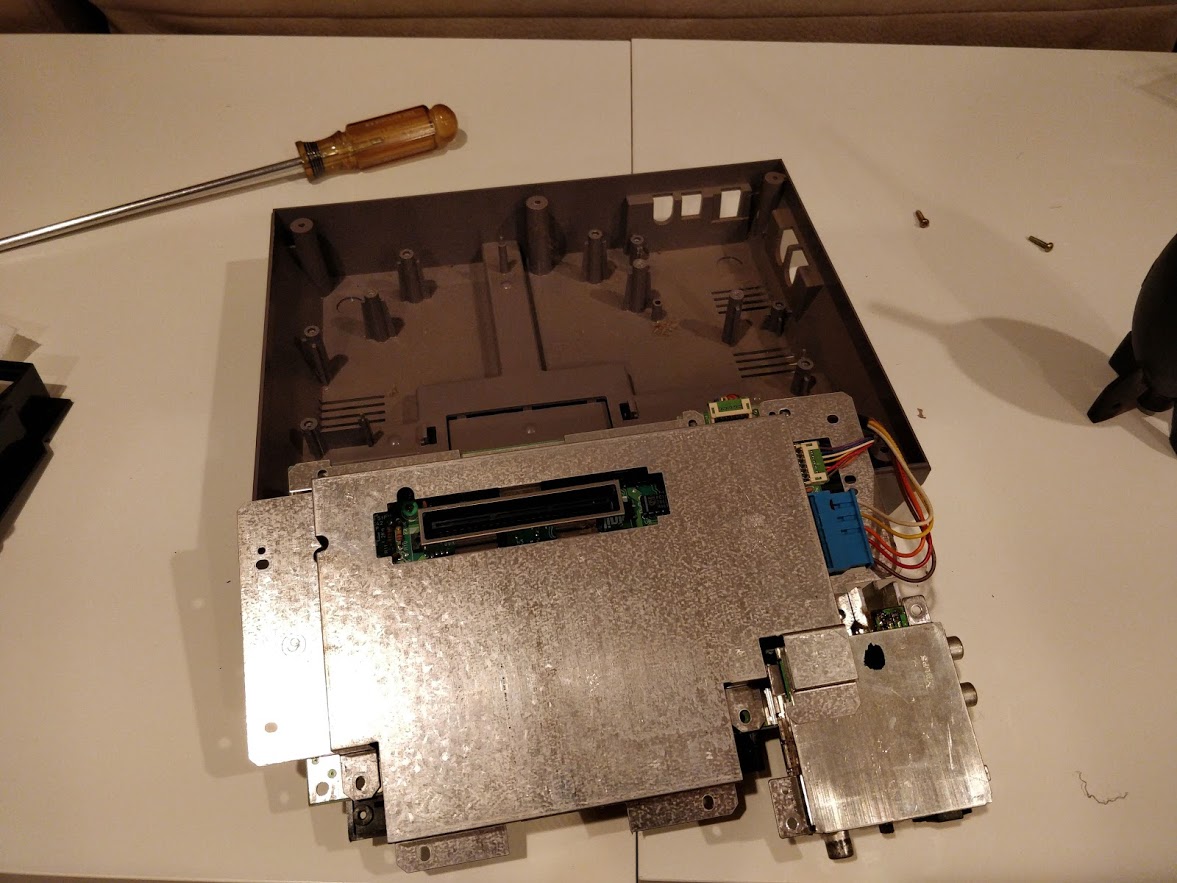
Carefully flip the motherboard over.
Step 7
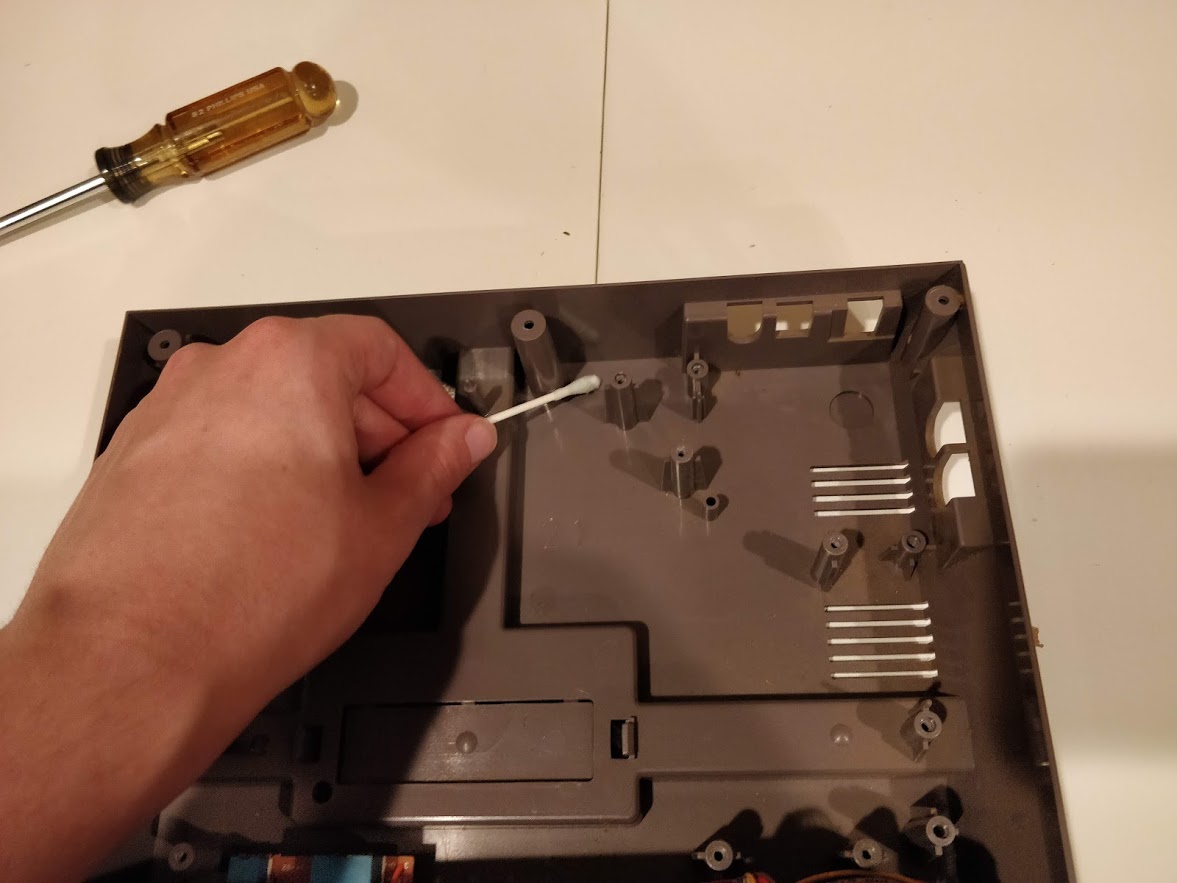
Use cleaning solution, paper towels, and q-tips to clean the plastic interior of the NES. You may also use a rubber dust pump to blow away any dust inside the casing.
Step 8
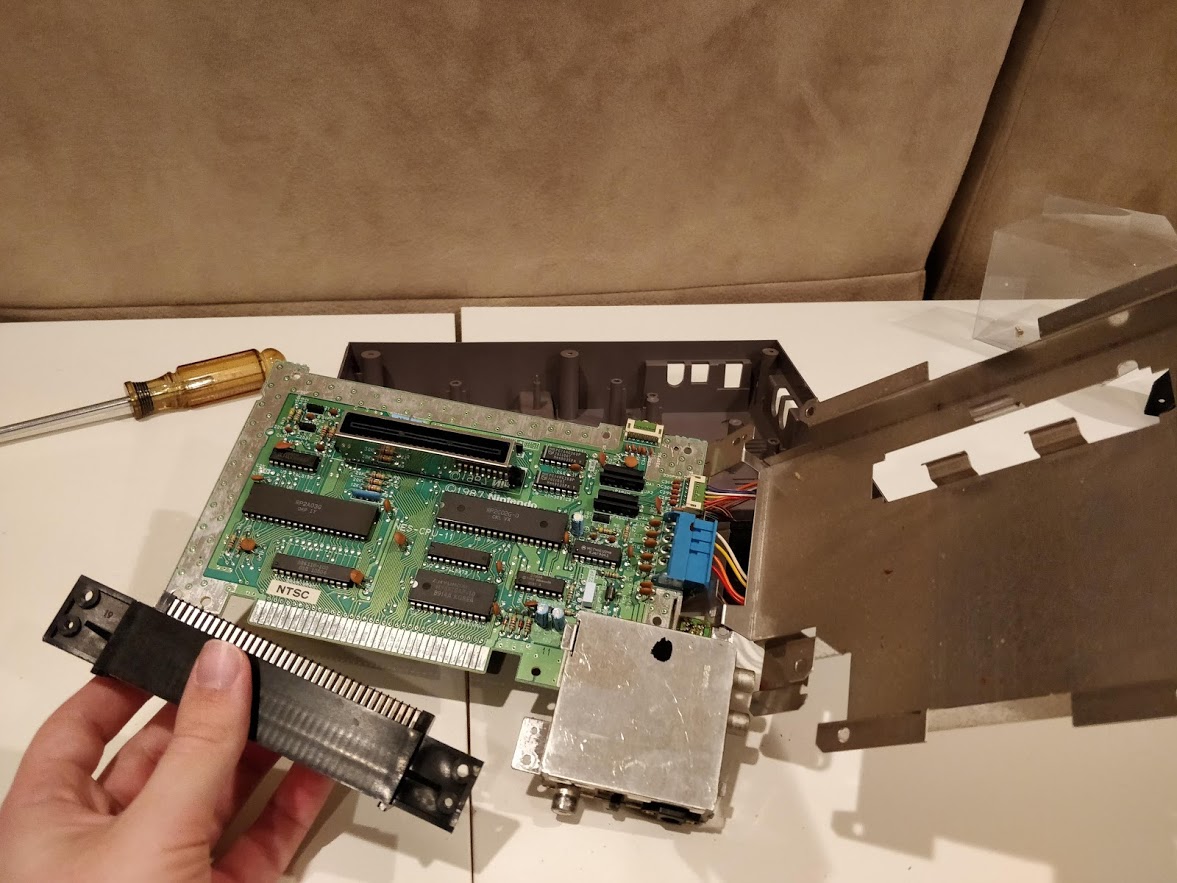
Lift up the other half of the metallic RF shield and carefully remove the 72-pin connector from the motherboard.
Step 9
Clean the 72-pin connector and the port. Do not attempt to alter or remove any of the pins from their positioning.
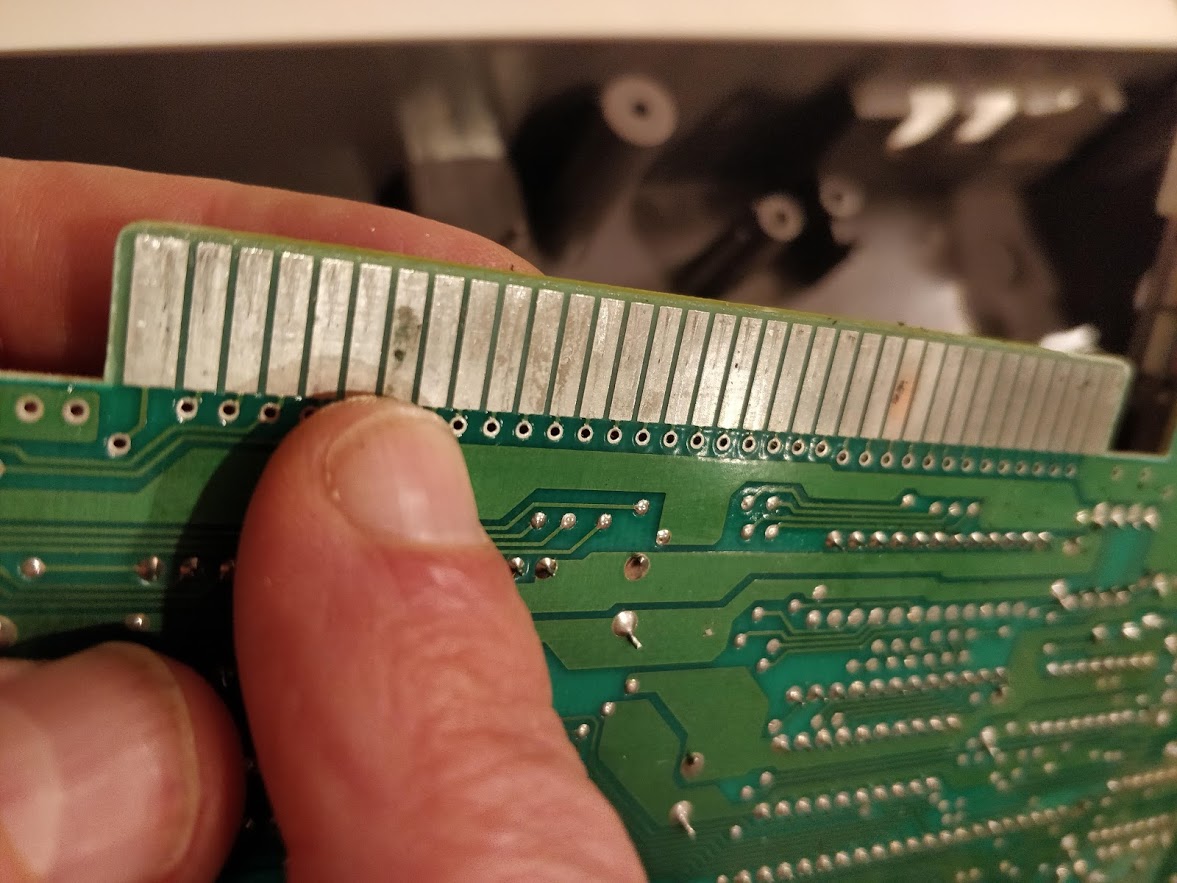
Step 10
Check for corrosion along the area where the 72-pin connector connects to the motherboard. Just add a few drops of WD-40 on a rag and use it to wipe down the area. After that, try using the gray end of a sand & rubber eraser to gently remove excess corrosive materials. Don’t use these materials any more than you have to, as you want to keep the surface material intact. You can see in the picture above that my console's motherboard went from having a corrosive substance on it to becoming much clearer after being cleaned off.
Step 11
Put the NES back together again by following Steps 1 - 8 in reverse order:
- Put the 72-pin connector back in its place on the motherboard.
- Put the metallic RF shield and motherboard back where they were.
- Put the screws back where they were.
- Reinsert the cartridge holder and screw it back into place. Please make sure the two silver screws go where they were before.
- Put the RF shield back over the cartridge holder and screw it back into place.
- Place the other half of the NES case back on top, carefully flip the console over, and screw the two halves back together again.
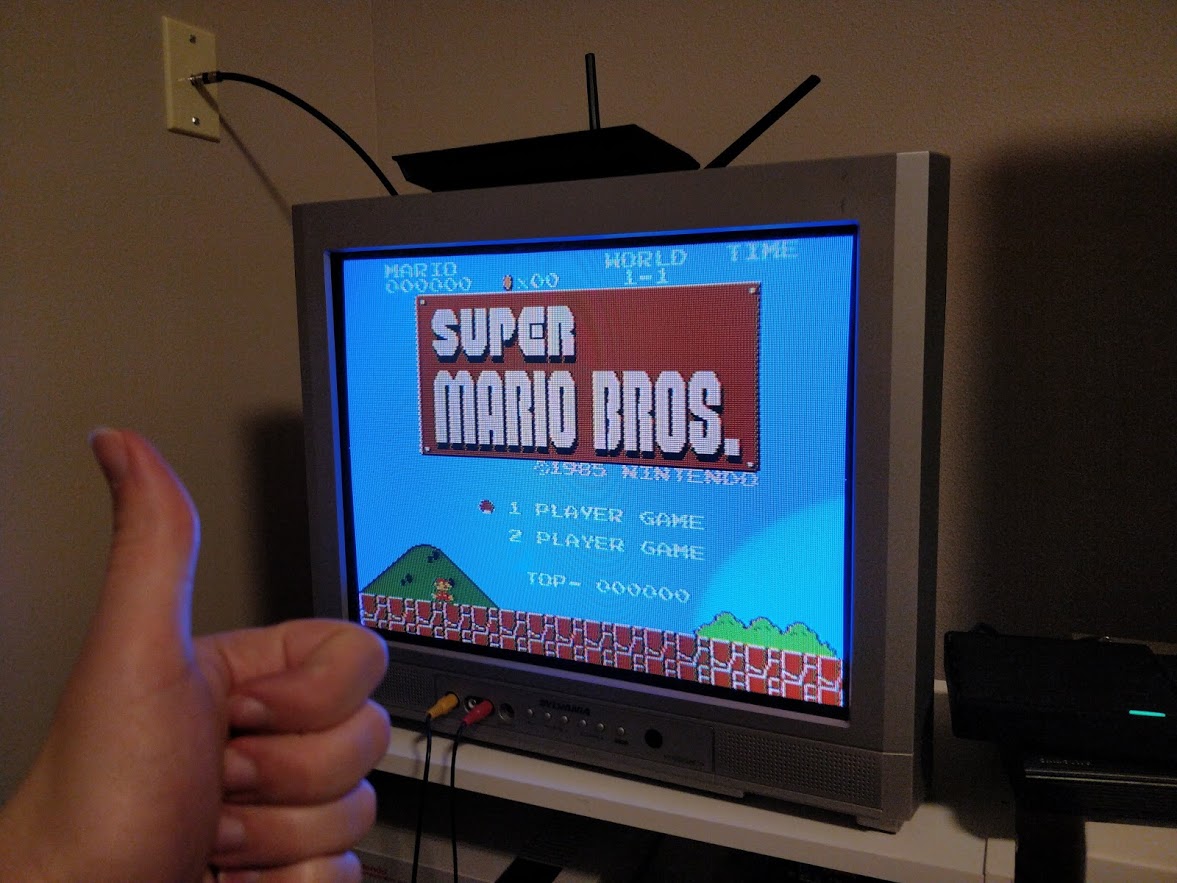
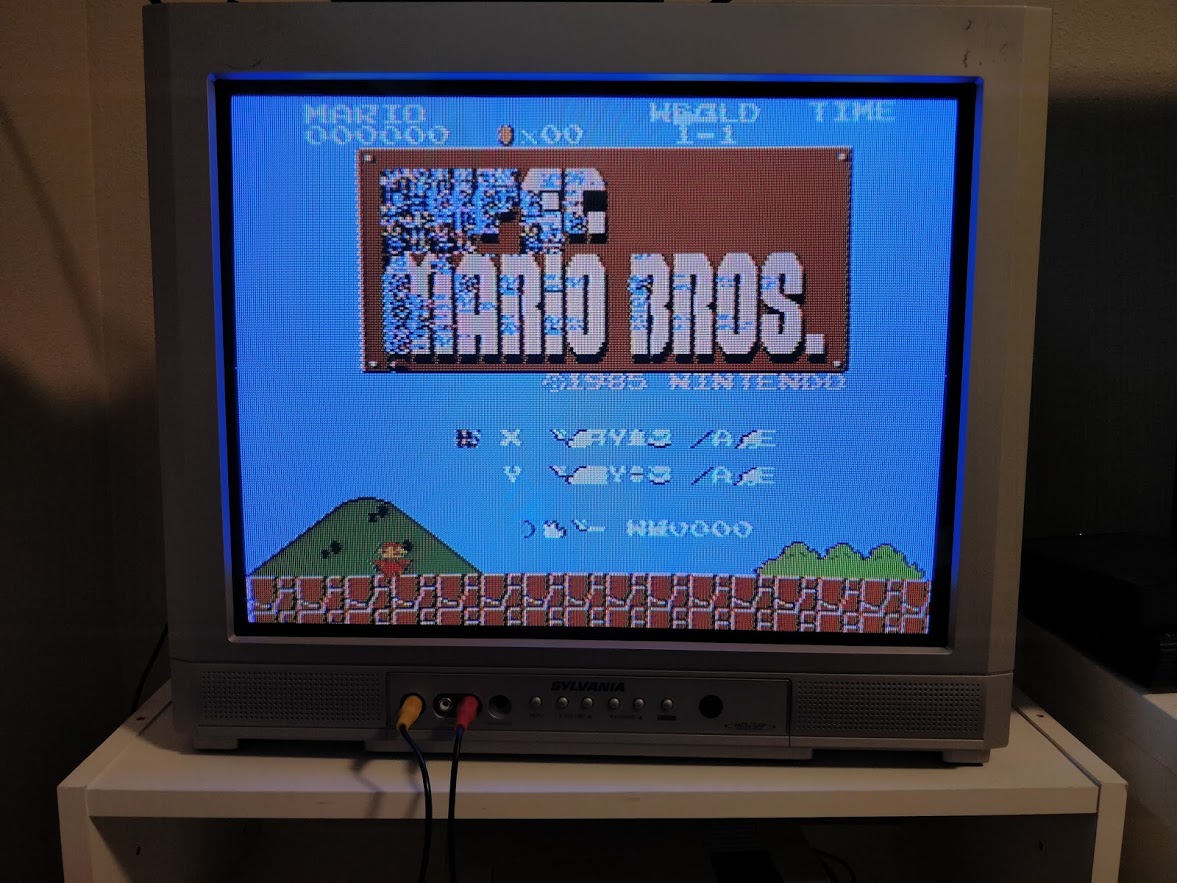
Step 12
Plug in your NES and connect it to your television set. With any luck, it should be up and running again without any glitches on the screen.
About the Console
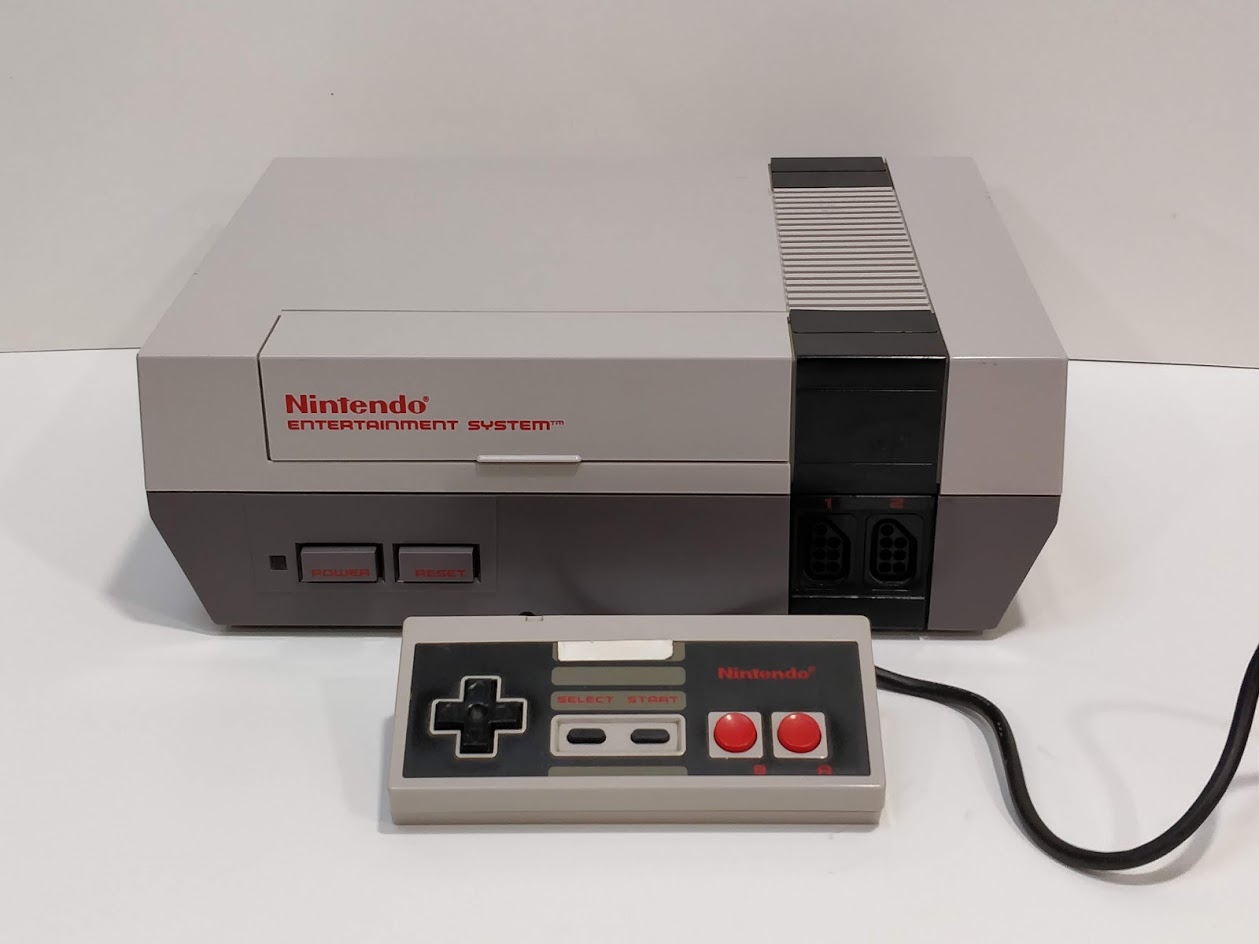
Made by: Nintendo
Released: October 18, 1985